In order to have a custom background on just the homepage there needs to be bit of code used. With a mix of HTML, Css and Javascript the system can be tailored to any needs.
The reason why it’s not straightforward is that the custom homepage HTML file lives inside a wrapping element that encapsulates all pages, so if when tapping into the style of this wrapper, the system will effect every page.
So to get around this Javascript must be used (as mentioned before), but NOT in the custom.js file.
Getting started
One of the best ways to apply a CSS style to a block of HTML is to attach it to a class, but the complications surrounding the home page arise as a unique class is needed that only exists on the home page, but also lives OUTSIDE it.
Because of this, simply writing a line like:
<div class=”cool_background_image”>
in the home.HTML file will do nothing.
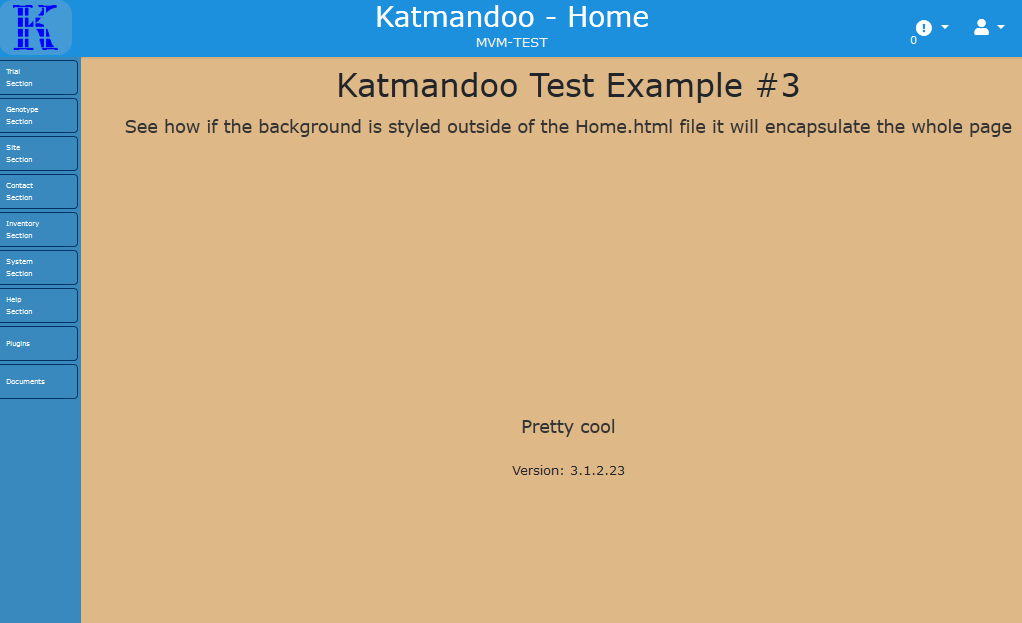
(It wont actually do nothing but it will create an effect that looks like this, which is not very clean looking)

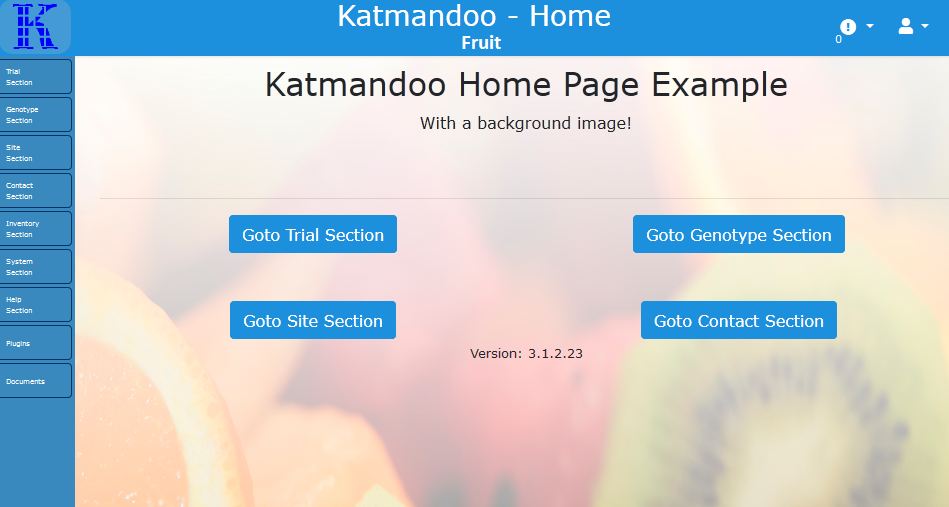
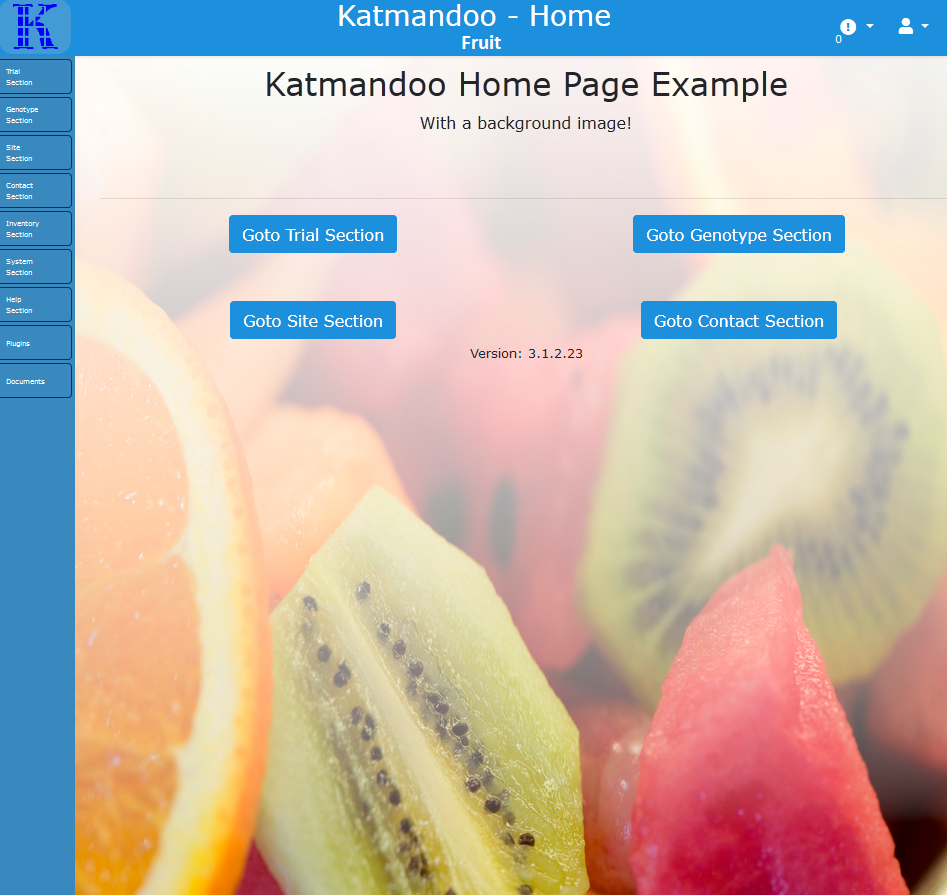
To achieve the look as seen in Image 2 the element with the Id; body-row needs to be edited, but as mentioned above this element wraps the content on all pages so some Javascript will be needed to tell the system to only edit it on the homepage.

To do this, at the bottom of the Home.HTML file create a “script” block.
<script>
// Code goes here
</script>
Note: By putting it on this page rather than in the custom.js file is that the code will only be run on this homepage. Unlike the custom.js file, which runs its code on every page!
Inside this block a variable will be needed in order to tap in the main wrapping element with the id “body-row”
var outsideWrapper = document.getElementById(“body-row”);
Now it will need a custom class added to it that will later have the background Image style applied to it.
outsideWrapper.classList.add(“my_special_unique_class_name”);
This will append the unique class name to the class list of that outside wrapper.
Now in the custom.css file simply style that class with anything (like background images, colours and font styles)
.my_special_unique_class_name{
background-image: ….
}
Examples with Code

home.html-example-1
custom-css-example-1
Unique Images for different Subsystems
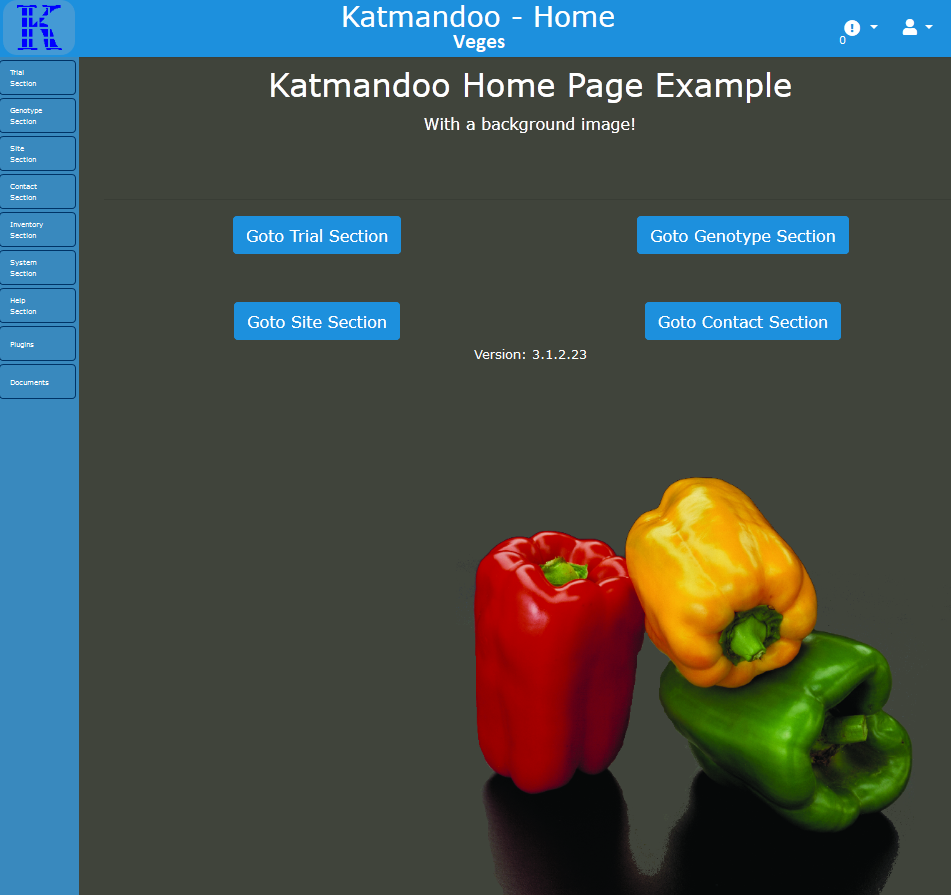
For there to be different images across different subsystems, there is an extra step that required.
On every page after login, the subsystem name appears in the top of the screen in the Nav bar.
If this text is tapped into, the system can selectively apply a style based on the subsystem.

Doing this will require the same starting line of code as before (also in a script at the bottom of the home.html):
var outsideWrapper = document.getElementById(“body-row”);
There will also need to another variable defined, to tap into that subsystem name using its Id “navBarSubSystemName”
var subSystemName = document.getElementById(“navBarSubSystemName”).innerText;
Note: the .innerText will get the Text component of that element
Next there will need to be some “if/else” statements to determine what happens based on the subsystem name.
Example:
if (subSystemName == “Fruit”) {
outsideWrapper.classList.add(“FRUIT_IMAGE_CLASS”);
} else if (subSystemName == “Veges”) {
outsideWrapper.classList.add(“VEGE_IMAGE_CLASS”);
} else {
// NO background image
}
Then after that all that needs to be done is to style those classes in the custom.css
.FRUIT_IMAGE_CLASS {
background-image: url(../images/fruit.jpg);
background-attachment: fixed;
background-repeat: no-repeat;
background-size: 100% 100%;
}
.VEGE_IMAGE_CLASS {
color: white;
background-image: url(../images/veges.png);
background-color: #40443b;
background-attachment: fixed;
background-position: 100% 100%;
background-repeat: no-repeat;
background-size: 500px 500px;
}

