On the edit page there is the option to supply a geometry option in the form of “well-known-text” or even just supply the latitude and longitude values.
However there exists a set of tools on the edit page that allow for easy geometry drawing and manipulation.
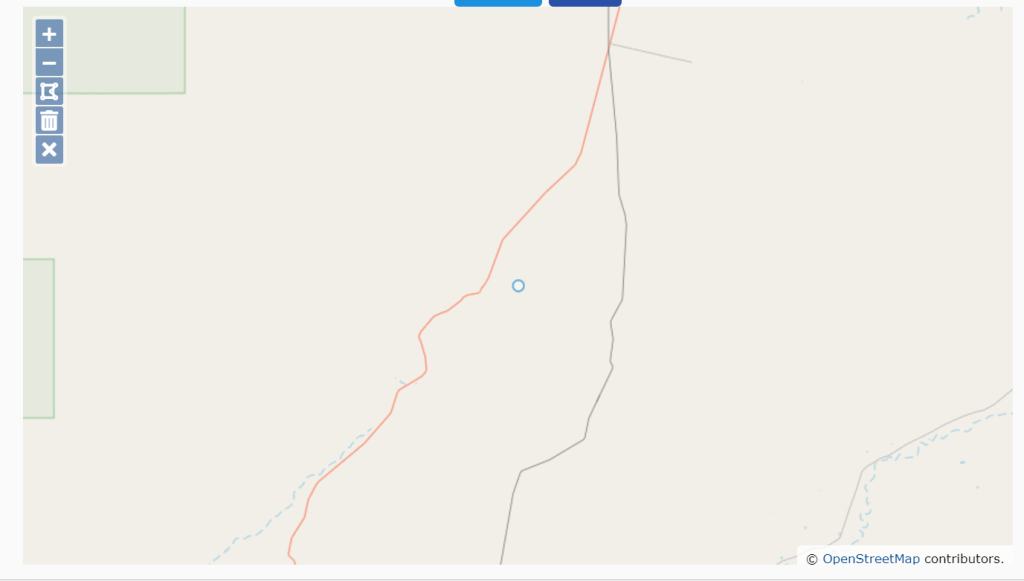
At the bottom of the locations edit page there is a map, as similar with the view page.

When the page loads, it will be centred on a point. This point can convey one of two options.
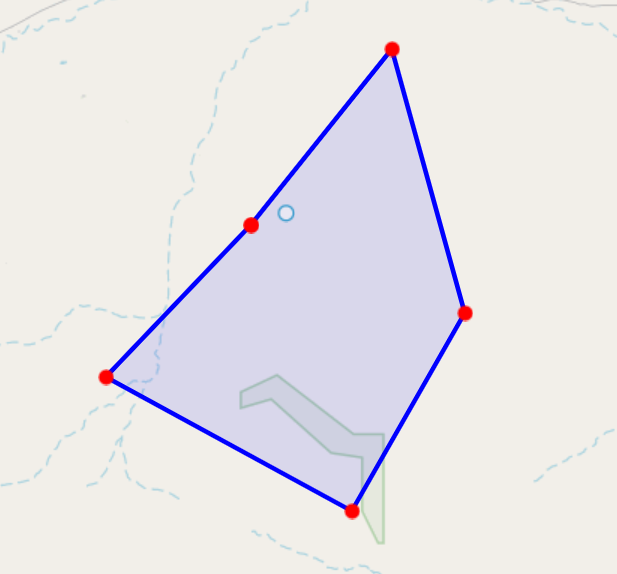
The first one is the Latitude and longitude of the record, this can be easily observed if there are no dark-blue drawings on the map (signifying geometry).
The second one is the centre of a geometry.
If the map has dark-blue lines or shapes on it, the point will be the centre of all the vertices of the shape. This centre is what will appear on the map search page.
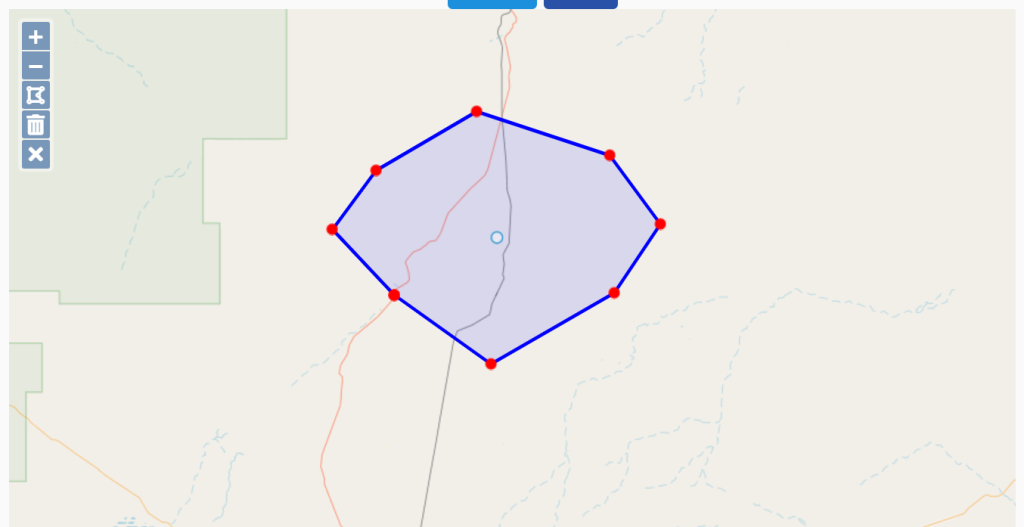
To give or edit a point to have geometry, there is the Draw polygon tool on the left.

Once clicked, the tool will allow the drawing of any shape that is a polygon on the map. When the polygon drawing is finished (as signified when the end point meets the start point) it will lock itself onto the map and then update the location Geometry box above.

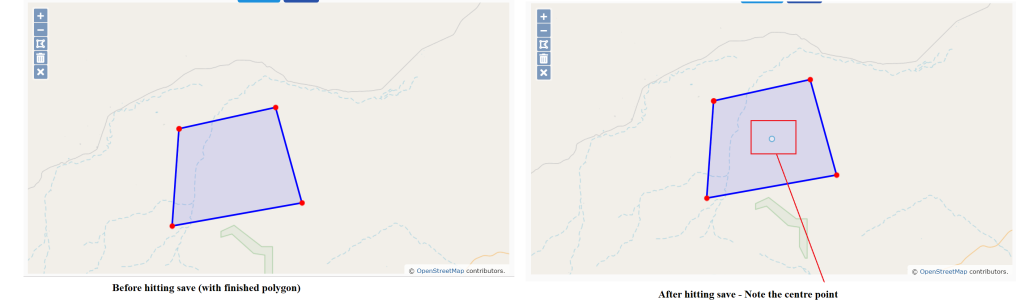
If the save button is hit now it will save this geometry and its centre point.
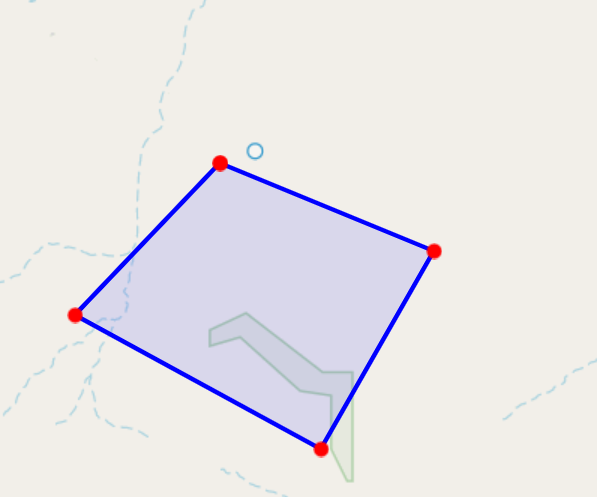
If the geometry shown on the edit page is not as precise or correct as it should be. There are several ways to adjust the shape.
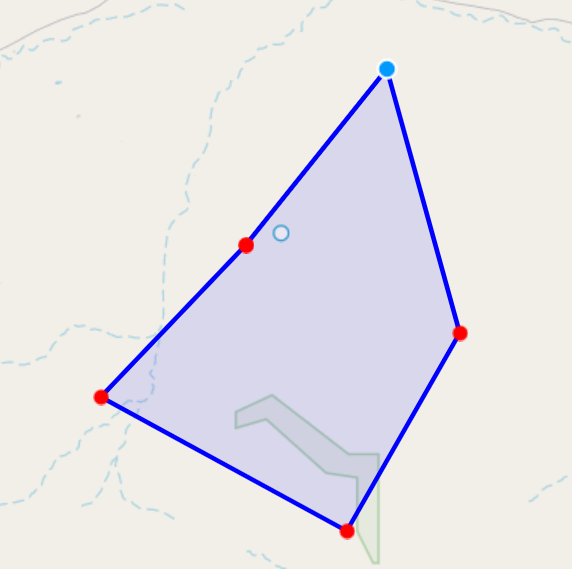
When clicking on the red vertices on the shape, the system will allow that vertex that was clicked to be moved. When the mouse click is let go, the system will save this new drawing with the adjusted vertex.
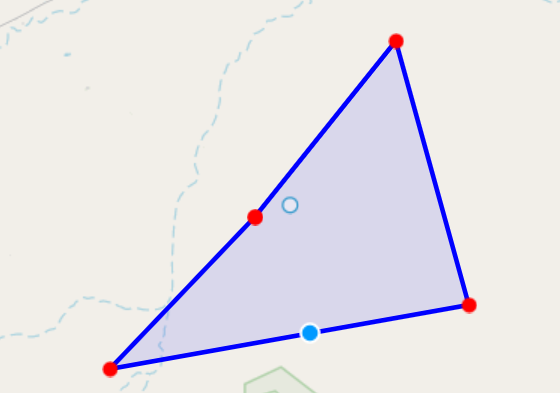
If a user wants to add an extra vertex to the shape that has been drawn, there is an easy way to do this as well.
By clicking on any of the straight lines on the shape and then moving the mouse, the system will turn the area clicked into a vertex and move it with the mouse.
When the mouse click is let go, that vertex will also be saved.
If a mistake has been made in the drawing and an extra vertex has been added there is an option to remove them.
Clicking on a vertex will allow the use of the remove vertex button on the left.

This tool will remove the last vertex that was selected, or the last one added.
Please note: That a polygon cannot have less than three vertices, the remove vertex tool will not respond when trying to remove 1 of only three vertices.
If the geometry is totally incorrect or if the drawing made needs to be redrawn there is a tool that built for this purpose.
The clear map tool on the left is a tool that when clicked it will first prompt if pressing the button was intentional. If yes is pressed, the system will totally erase all geometries on the page.
Please note: That if this button is clicked on accident, the best solution would be to hit cancel and come back into location being edited.
The system does not save any geometries until the save button is explicitly pressed.