In Katmandoo the most powerful way to add/edit large amounts of data at once is by importing data.
The system will only take a file with the type; .CSV or .XLXS/XLS anything else will be rejected.
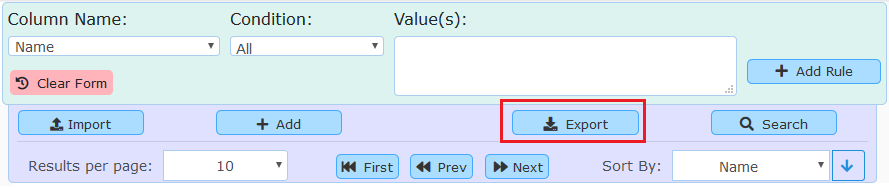
To begin an import there are two points of entry. There is a global button on all pages on the left in the sidebar. Expanding out any sections will give the option to import.

There is also a button that allows for importing Data on the search page.

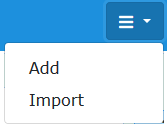
Just like with the add button, both will go to the same location, they are just in multiple locations for convenience
The import page for all data will have two different ways for selecting the file to use for the import.
The first option, “Select Import File” gives the option to select a file from any of the previously uploaded files to the system.
If running an import for the first time, this should be empty. However if there are too many files, there is also a “Clear Button”
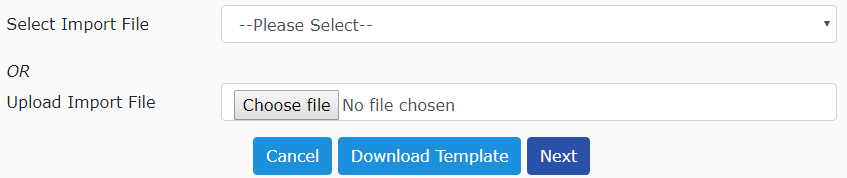
The other option allows files to be directly uploaded from the device Katmandoo is currently being run on.
On the import page there is also a button that will automatically generate a template XLXS file that has all the relevant headers for that piece of data.
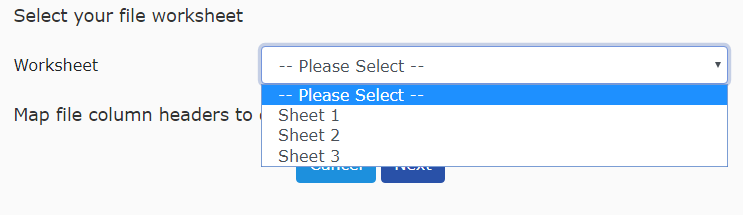
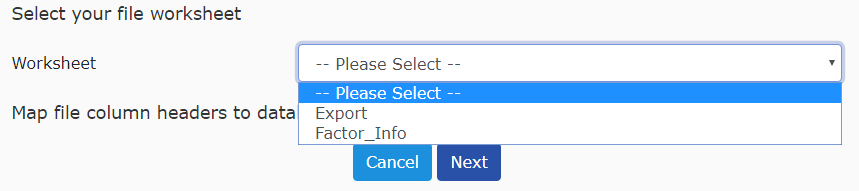
The template has two sheets with the first one where the headers are located and where data would be inserted. The second sheet merely has all the information surrounding the headers and any factors.
If an XLS or XLXS file is uploaded the system will come with another prompt if the spreadsheet has more than one sheet.
Once a sheet is selected and the “next” button is pressed the system will show all of the headers from the file and try to automatically map them to Columns in the Database.
If a CSV file is uploaded or if an XLSX /XLS with only one sheet in the spreadsheet, the system will skip the prompt for choosing the worksheet and will show the headers with their relevant mapping.
The system will try to match the column headers to the database fields automatically, but If there are any columns that need to be uploaded that are red and have a cross next to them, it means that they are not mapped to a database field and need to be set manually.

By clicking on the dropdown that says “–Not Mapped–“ the system will show all of the database fields that are linked to the relevant data. It also includes all the aliases of them as well.

The system will also show at the top of the page how many columns are mapped out of how many can be mapped.
As well as letting the user know which columns are needed for mapping and if they made any of these duplicates

If all of the required fields have been mapped to databases and the next button is hit, the system will go to a preview page where everything can be checked for confirmation.
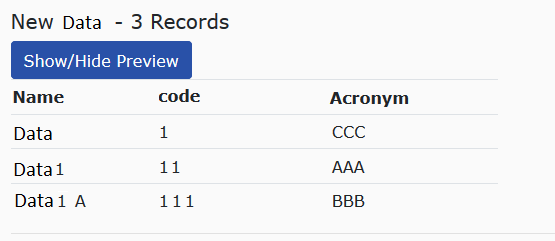
If there are new records being added to the database, the system will preview a small table showing some key information that is going to be added, as well as the amount of new records that will be added.
If there are any records being updated, the system will preview a similar table to the new records preview, but just below the add preview. The Update preview will also give the number of records being updated.
After hitting save, the system will attempt to make those changes to the database returning a positive message on the home screen if it was successful.

Exporting Data
On every search page there is a button for exporting data. This is an extremely useful tool as it can pull all the needed information from the database.
By clicking the export button on the search page a pop-up will appear.
The export popup has multiple buttons and several dropdowns, but by default on most pages it will look like this.

To Export Data, the columns on the left under the Available Columns must be moved over to the right, under Export Columns. However there are several different ways and options to do this.
By default, the way to choose what columns are needed is with the blue buttons in the middle.
Please note that by holding in shift multiple Columns can be selected at a time
| This button moves the selected available column to the list of Export Columns | |
| This button will move all of the available columns to the export columns Please note that for large amounts of columns the system may take time to load |
|
| This button moves the Export Columns out of the list of Export Columns |
|
| This button will move all of the export columns back to the list of available columns |
|
| This button will move all of the selected columns up in their order |
|
| This button will move all of the selected columns down in their order |