For ease of installation the instructions below use SQL Server Management studio or MySQL workbench to attach the katmandoo database. These tools allow for ease of installation via a simple user interface and allow the user to run direct queries on the database if investigation is required. Katmandoo can easily be built using a command line script for either database if scripts are preferred on the install server.
The server chosen will depend on what is available in your environment. There may already be a database server available that can attach a katmandoo database. It is recommended that a dedicated database server be used whenever one is available.
The key factors are that the database is attached and a user account with sufficient privilege to access the database is available. The database connection details will be required later when building the appsettings.json file.
SQL Server management studio can be downloaded from here. MySQL Workbench can be installed as part of the MySQL server installation, but workbench can also be found here for access from other servers.
MySQL Setup
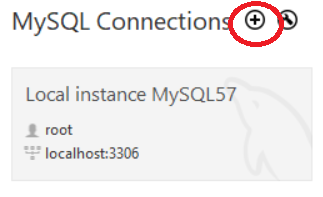
Open MySQL workbench and connect to your desired server or click the add button to add a new connection.
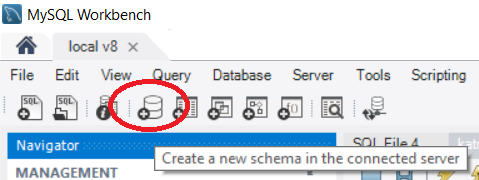
Select the Create Schema button.
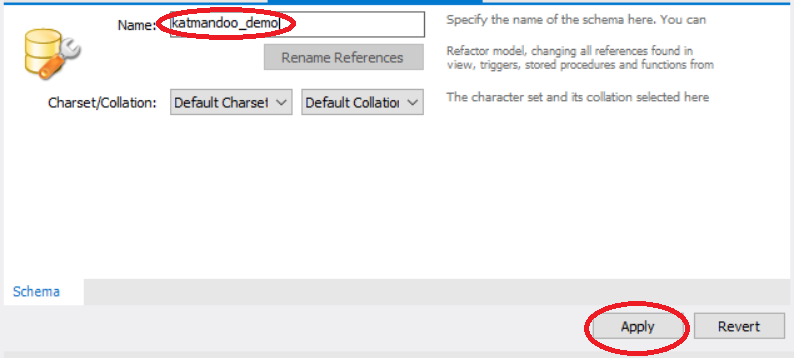
Enter the new database name and select Apply
Ensure that the new database is set as the new schema
Warning! If you do not set the default schema correctly you may overwrite an existing database.
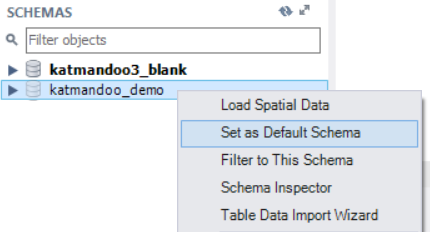
The selected database will now appear in bold

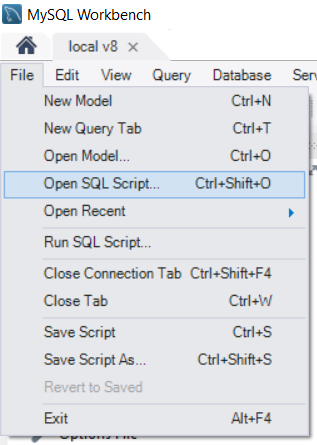
Open MySQL Workbench and select [Open SQL Script].
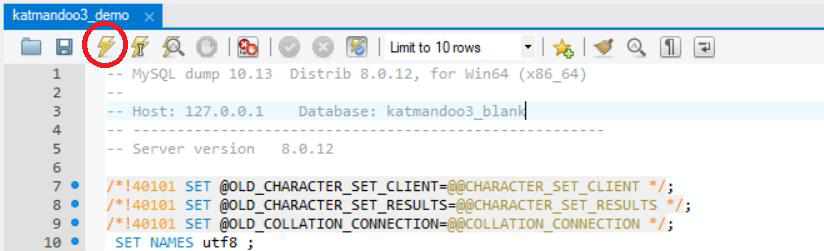
Open the blank database SQL file and click the execute button
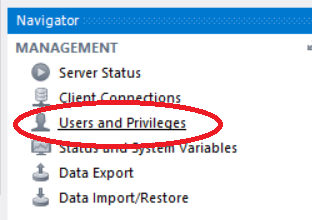
From the Navigator select Users and Privileges
Add a new user (or edit existing)
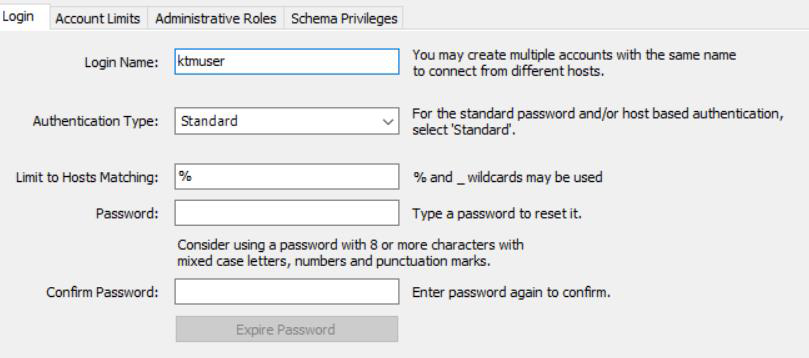
Ensure appropriate permissions exist for the new schema.

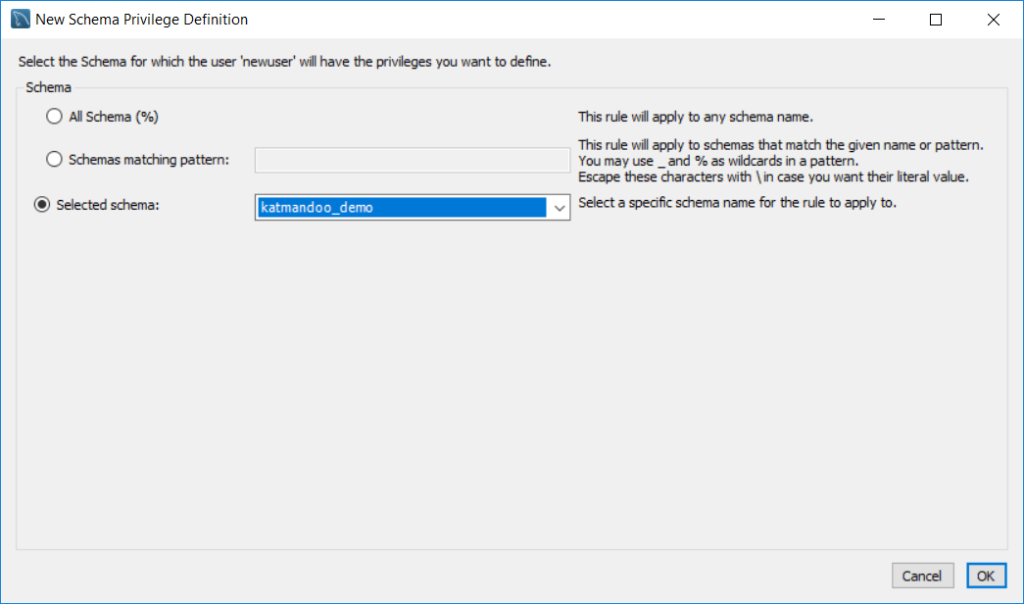
Select Add Entry

Select the schema to link the user too
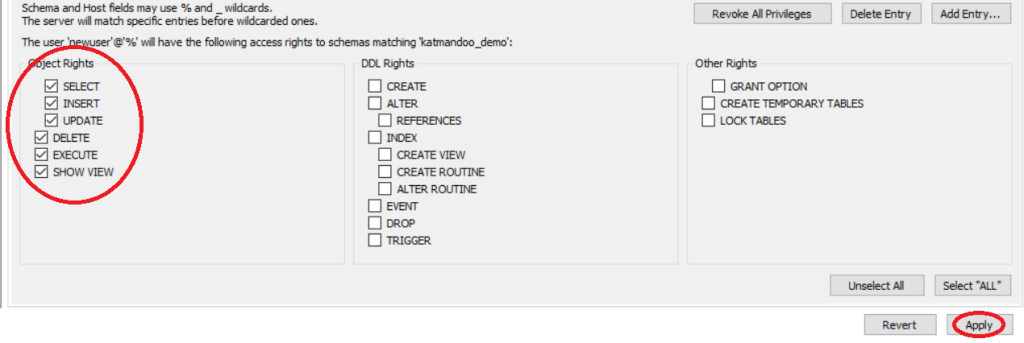
You will need all of the object rights, but can add other permissions depending on the purpose of your user account.
Click Apply to add/update the user account
SQL Server Setup
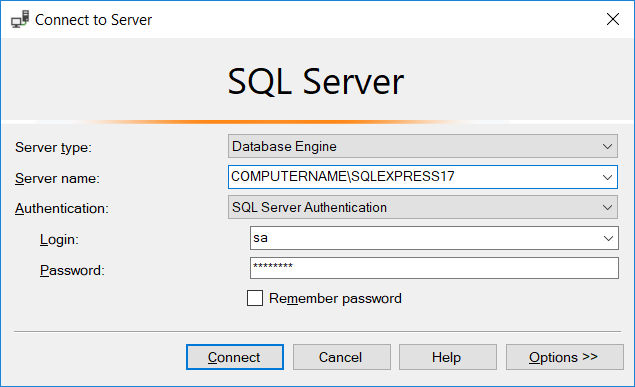
Open Microsoft SQL Server Management Studio and connect to the desired server
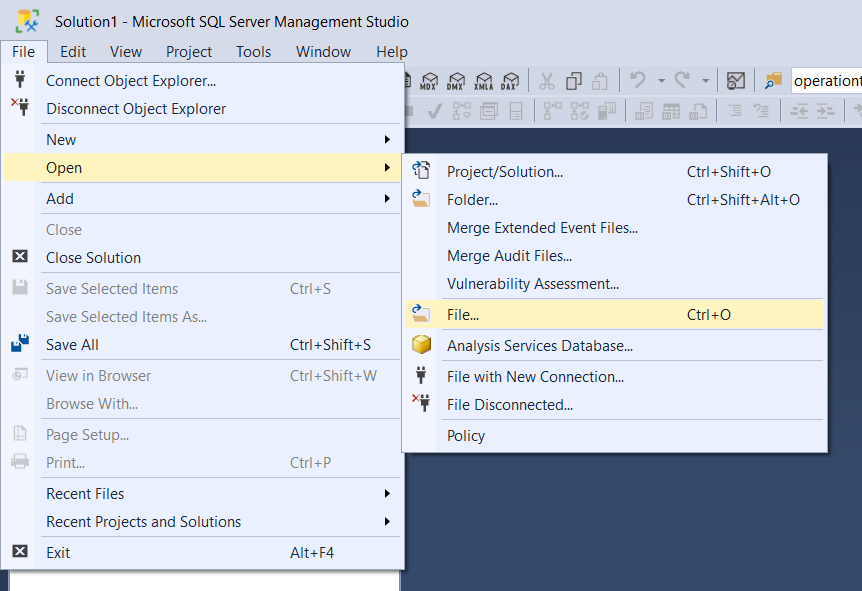
Select File->Open
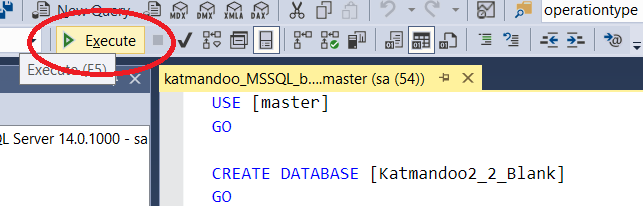
Select the Katmandoo sql file to open and click Execute
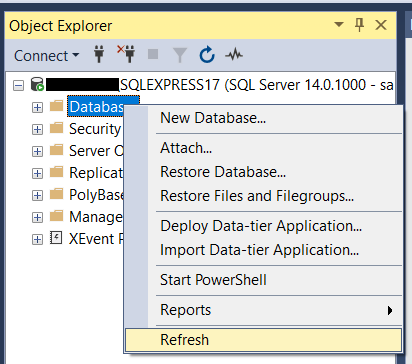
Refresh the database list to see the newly added database.
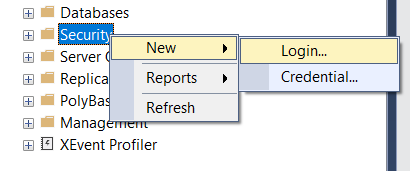
Expand the Database Object, right click Security and select New->Login
Enter the new username and password
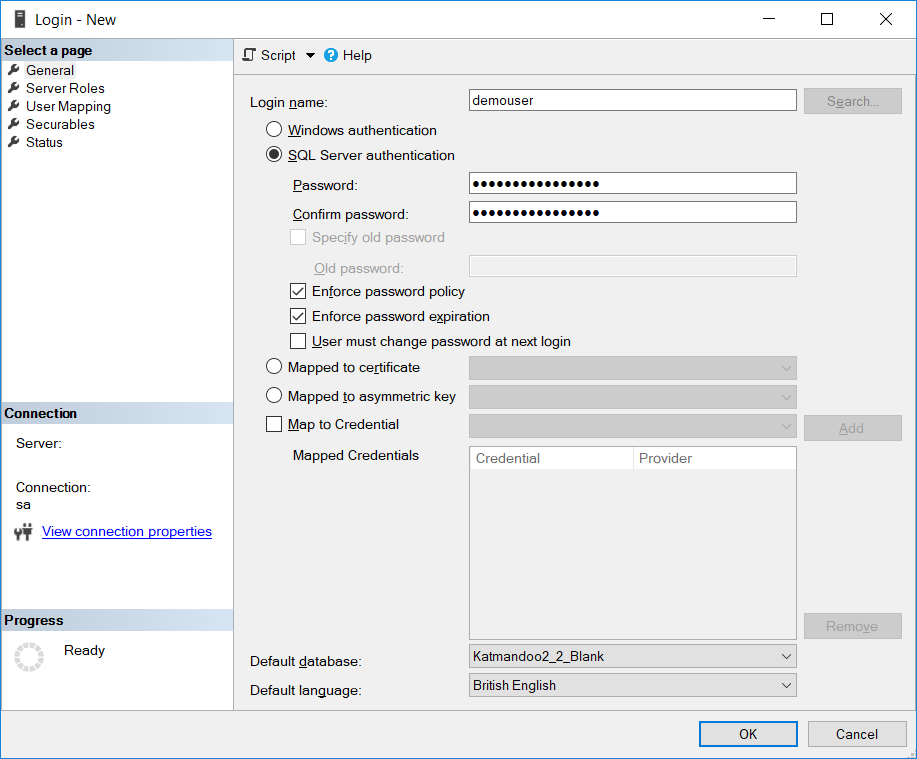
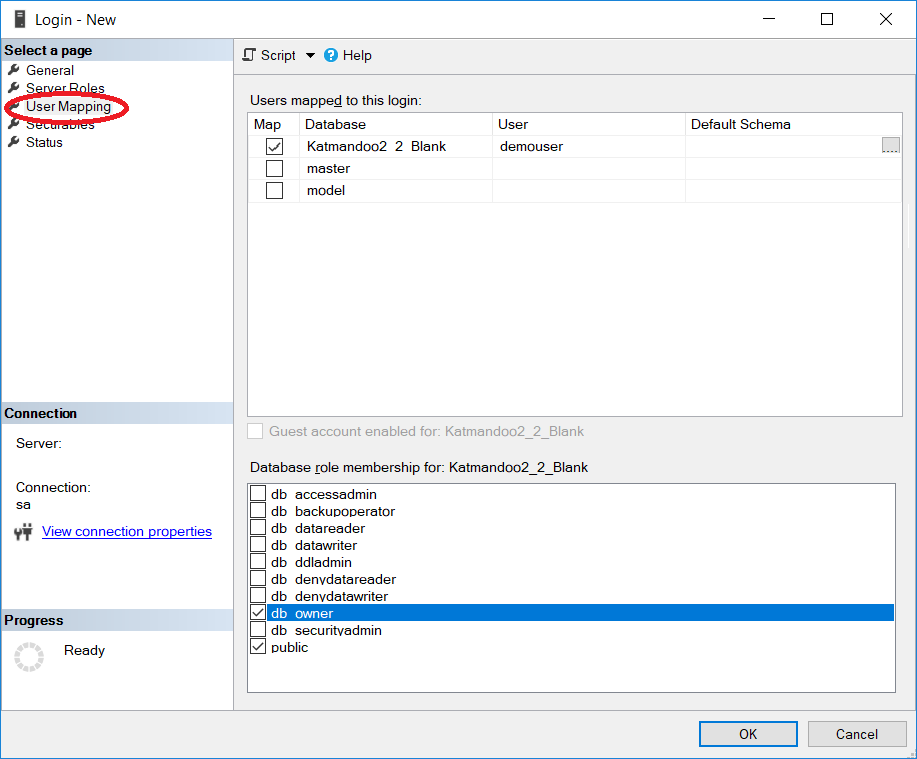
Select the User Mapping page and ensure that the database has the db_owner role. Click OK to save.