Searching the database for records requires 3 fields. A column, a condition, and values. Clicking the search button will build the query based on the selected fields and will produce a table of results below the search box.
Quick Tip: To perform a quick search for all records, simply click the search button after the page loads. This will run the search using the “All” condition.
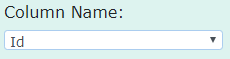
To perform a filtered search, select a column to filter using the Column Name drop down.
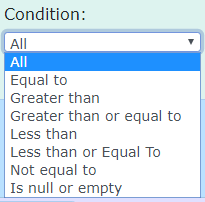
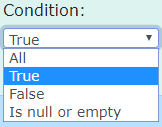
After a column has been selected, select a filter condition to apply to the column. The filtering conditions available in the drop down are based on the based on the data type of the selected column name option.
Search Field Data Types
Text
String – Alpha Numeric
Eg. GenotypeName, TrialAcronym

Number
Decimal or Integer
Eg. Id, Trial Number
Boolean
True/False Value
Eg. IsActiveTrait, CanHaveNull
Date
Date/Time Value
Eg. StartDate, EndDate
Changing the condition to “All” will clear any values entered for that rule.
With a Column Name and a Condition selected values to search by need to also be added
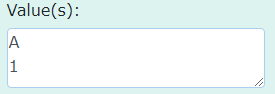
The Value(s) text box allows any characters for input.
It also allows multiple line separated values. Entering multiple values will search by each line and apply the “Or” operand to the filter.
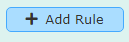
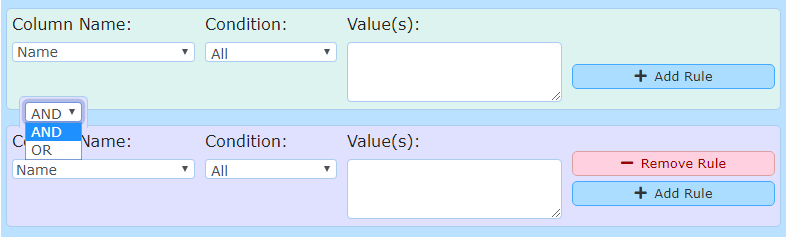
To refine the search further, additional search rules can be added using the “Add Rule” button. This button adds an additional filter row to the search input area with the same selections as the previous row.
Additional filter rows provide “And/Or” operands to separate filters. The order of operands may have an impact on the resulting data set.
Additional filter rules can be removed using the “Remove Rule” button or to reset the form click the “Clear Form” button.
Search Controls
After a valid search has been completed, a table of results will be displayed below the search box. To sort and apply paged results additional search controls are available below the filters.
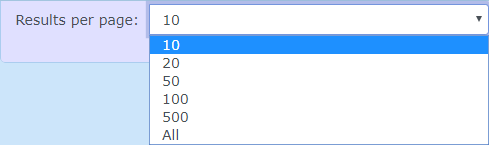
For a default the table only shows 10 Results per page. This can be adjusted by changing the dropdown and choosing a new value
The table will also be displayed with pagination (split into multiple pages). To navigate between the pages there are three buttons that allow to move between pages.

Hitting the “First” Button will go to the first Page while the “Next” and “Prev” buttons will go to the next and previous page sequentially.
The page number of the page being displayed will be shown on the right of the table, just above it. And the amount of results for the search made will appear on the left of the Table also just above it.

The table also gives the option to change how it is sorted. If the “Sort By” dropdown is selected it allows the choosing of one of the Column Names to search by. After the desired Column Name to search by is selected the order (Ascending or Descending) will also need to be specified.
This is set to Ascending by default as represented by the “Down Arrow”. Selecting this Arrow button will change the arrows direction while also changing the order.
The table will not update until the search button is hit again.

There is also an option to hide the pagination controls. In the even that more screen space is wanted, hitting the “drawer” at the button of the search options will hide all the extra controls and give a simplified screen.
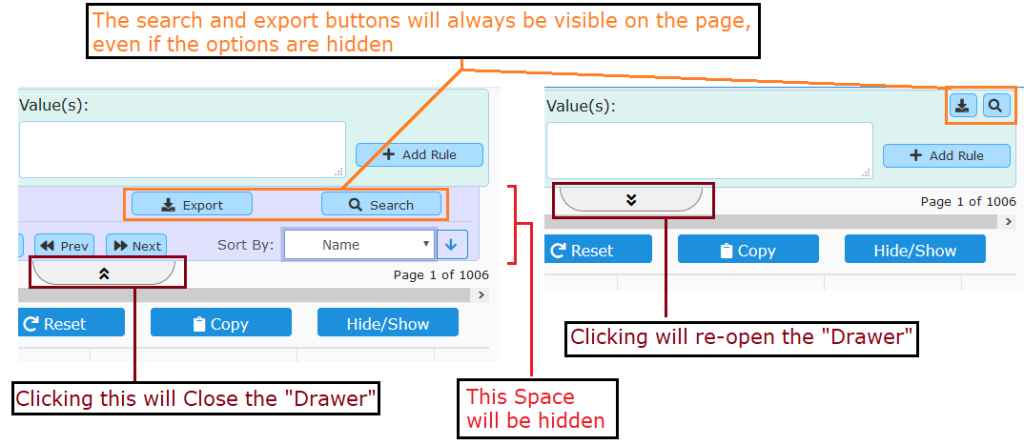
Table Controls and Manipulation
Katmandoo also has several tools at a user’s disposal to use to alter and manipulate the results table for a better viewing experience.
Most notably there are five buttons above the table, each with their own function
 |
This button will immediately export the data in the table to a spreadsheet with the .xlsx for-mat. It is not as powerful as the proper Export but can be useful for checking data quickly |
 |
This button will immediately export the data in the table to a spreadsheet with the .csv format. It is not as powerful as the proper Export but can be useful for checking data quickly |
 |
This button will reset any changes that have been made to the table through the use of these tools |
 |
This button will copy the table that is shown to the user and put it in the Clipboard (It will not copy the whole table, only what is displayed) |
 |
This button will open a small menu of other buttons, each one being one of the column headers |
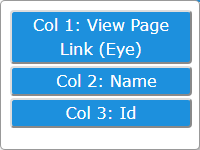 |
Clicking on any of the headers in this sub menu will either hide or show that column (Depending on whether it is currently hidden or showing) |
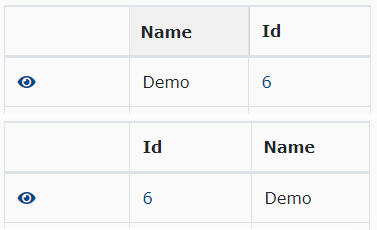
There is also another feature that is not shown with the buttons. That is the ability to reorder the columns based on user preference.
If the mouse is hovered over one of the column headers, there will be a slight colour change. If the mouse is pressed when this happens the system will allow the column selected to be clicked and dragged to wherever.